


How to Upgrade Your Computer from Windows Vista to Windows 7
If you’re ready to take the leap from Windows Vista to Windows 7 on your computer, the process is fairly simple. When you upgrade your computer from Windows Vista to Windows 7, first make sure you have a Vista service pack and use Windows 7’s Upgrade Advisor, which tells you what software or gadgets won’t run after you install Windows 7. Windows Vista usually fares the Upgrade Advisor’s exam pretty well.
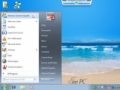
To find out what version of Vista you’re running, click the Start button, type winver into the Search box, and press Enter.
When the About Windows box appears, the words Service Pack 1 or Service Pack 2 should be listed on the box’s second line.
If no service pack is listed, then grab it through Windows Update by clicking the Start menu, choosing All Programs, and clicking Windows Update.
Keep downloading all the updates marked “Important” until Microsoft slips you a copy of Service Pack 1.
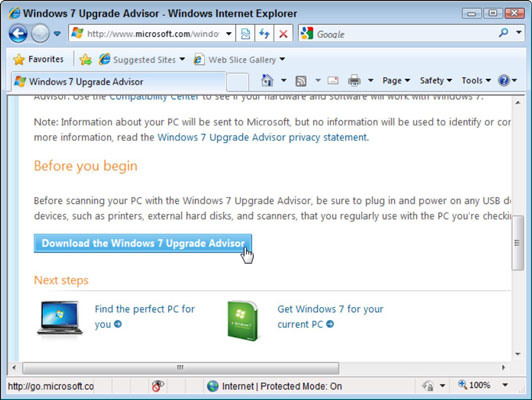

Visit Microsoft’s Windows 7 Upgrade Advisor Web site and click the Download the Windows 7 Upgrade Advisor button.
In Microsoft’s traditional sleight of hand, your click fetches a more complicated Windows 7 Upgrade Advisor page.

On the second Windows 7 Upgrade Advisor page, click the Download button.
When asked whether you want to Run or Save the file, Choose Save. This step saves the file on your Desktop or in your Downloads folder.
When the download completes, install the program by double-clicking the downloaded program’s name, Windows7UpgradeAdvisorSetup.
Click through the approval screen, if you see one.

Click I Accept the License Terms, and click the Install button.
When the program finishes installing, click the Close button.
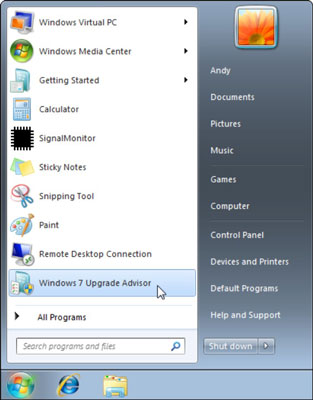
Launch the program by clicking the Start button and choosing Windows 7 Upgrade Advisor.
If not on the Start menu’s first page, it’s in the All Programs area. If asked, click Yes to allow the program to make changes to your computer.
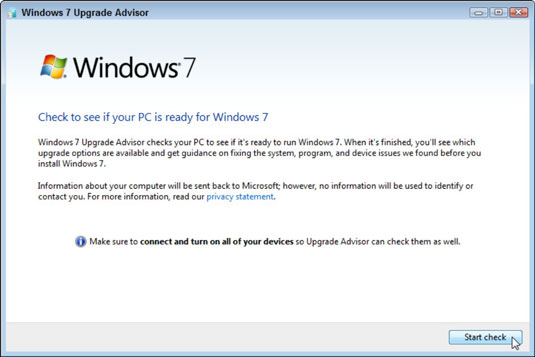
When the Windows 7 Upgrade Advisor program appears, plug all the equipment you want to use with Windows 7 into your computer’s USB or FireWire ports, turn on everything plugged into your computer, and then click the Start Check button.
The program begins examining your computer, its software, and all the parts you’ve plugged into your computer. After a bit of brow furrowing, the program displays its findings.
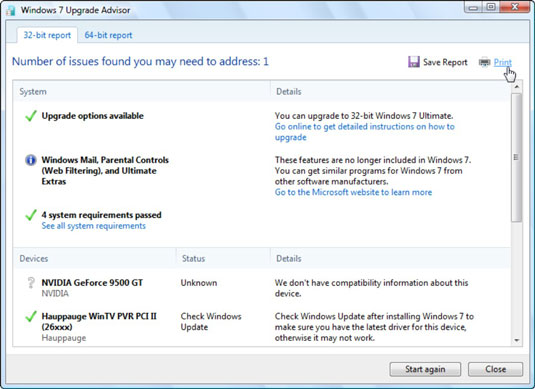
Read Windows Advisor’s results, which explain which parts need updated drivers or must be replaced.
You can print the report and take it with you to the store while you shop for updated parts and software.
Insert the Windows 7 DVD into your DVD drive and click Run Setup, if necessary.
You may also need to click one of Vista’s permission screens before Windows 7 begins examining your computer.
When the installation program finally comes up for air, click Install Now.
Windows 7 begins installing temporary files.
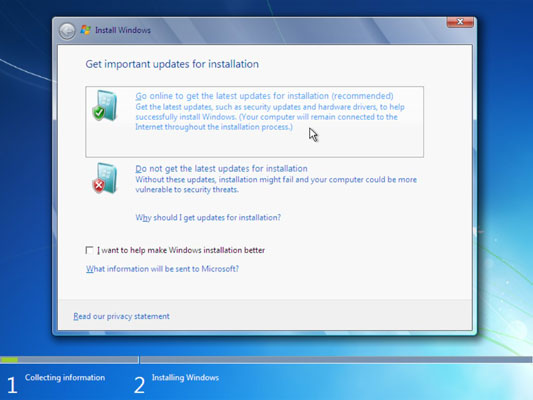
Choose Go Online to Get the Latest Updates for Installation (Recommended).
This step tells Windows 7 to visit Microsoft’s Web site and download the latest updates — drivers, patches, and assorted fixes for your particular computer — that help make your installation run as smoothly as possible. (Your computer must remain connected to the Internet for the downloads, of course.)
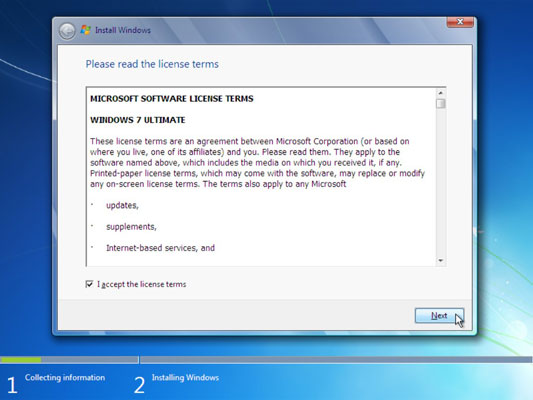
Scour Microsoft’s 44-page License Agreement, select the I Accept the License Terms check box, and click Next.
Okay, you don’t actually have to scour it. Skimming works, too.
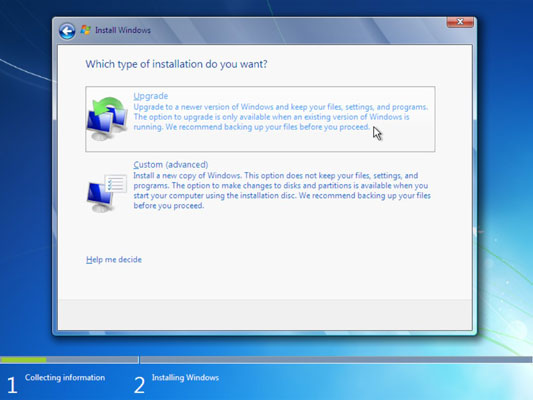
Choose Upgrade, read the consequences, and click Next.
Choosing Upgrade preserves your Windows Vista computer’s old files, settings, and programs.
Read the Compatibility Report, if offered, and then click Next.
The upgrade, a process that could take several hours, begins.

In the Type Your Windows Product Key dialog box, type your product key and click Next.
The product key usually lives on a little sticker affixed to the CD’s packaging.

Choose Use Recommended Settings.
This selection allows Windows to visit the Internet to update itself with security patches, warn you of suspicious Web sites, check for troubleshooting information, and send technical information to Microsoft to fine-tune Windows’ performance.
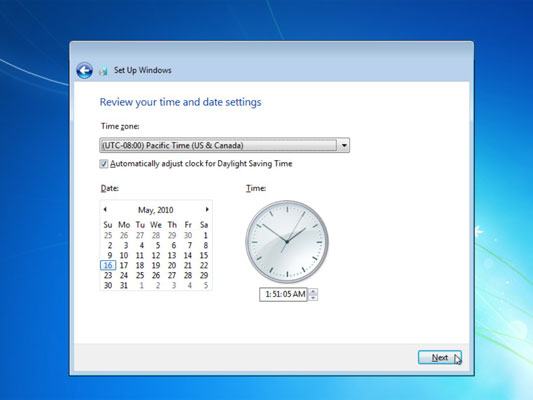
Confirm the time and date settings, and then click Next.
Windows 7 usually guesses these correctly.

If you’re connected to a network, choose your computer’s location.
Windows 7 gives you options: Home, Work, or Public. After rummaging around inside your computer for a few more minutes, Windows 7 appears on the screen, leaving you at the logon screen.
Log on and run Windows Update.
This step downloads any security patches and updated drivers issued by Microsoft.

 Recommends


 cover image")