Steering
Rack Bushings, thy time has come. I can't say I was
particularly looking forward to this - these are both simple
yet a bit of a pain to do. With a bit of luck, you may be able
to do these in under an hour, but don't count on it. One big
piece of advice: Unlike most of my other installs,
don't do
these on ramps! Put the car up on jackstands, you need the
wheels to be able to move to wiggle the various pieces out/in.
[i]The parts: AVO's new steering rack bushing for the
Legacy/Outback, and AVO steering rack bush removal tool. This
bushing is a new part number, as we updated it for fitment:
S1105M1GVUSAT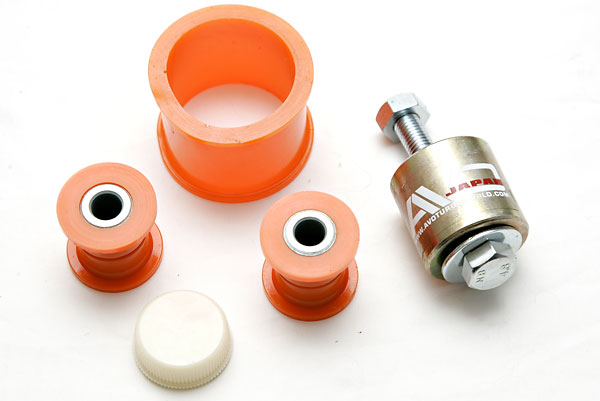
The
tools: 14mm socket and wrench for removing everything. You
will also need a 17mm socket for the removal tool. Some flat
head screwdrivers for prying things loose, a breaker bar, a
crowbar, and some advil won't hurt either.

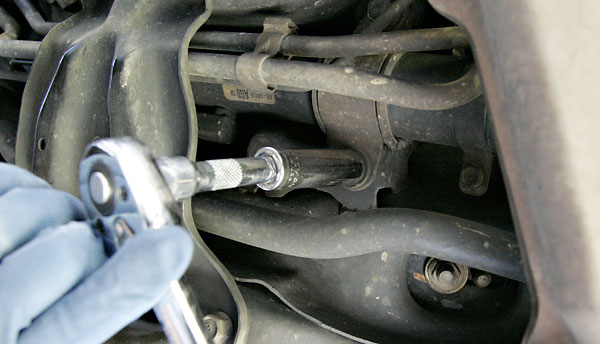
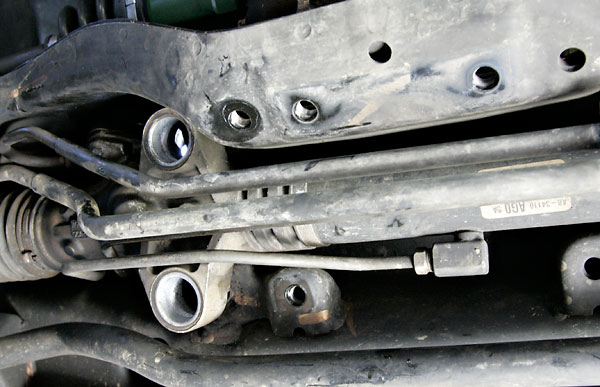
I
started by removing the bracket on the right side of the car.
Just two 14mm bolts on each side - though they were in tight
enough that a breaker bar helped a lot. You won't be able to
get the bushing itself off until you remove the bolts on the
other side of the rack.
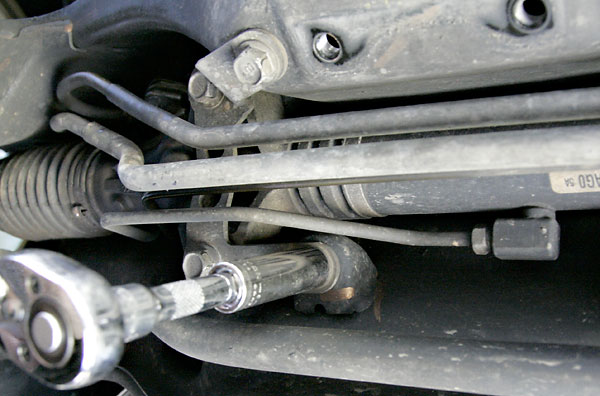
It
was a bit tight under there, so I wasn't able to take a
picture of the brace that goes above the mounting brackets on
the left side (drivers side). So you need to first remove that
brace (two 14mm bolts at the back, and two 14mm nuts/bolts at
the front). Then there is four 14mm bolts to remove to take
this bracket off. You'll get two long and two short bolts, the
long ones going in to where the bushings are.
While
this design is a pain in the rear, it does ensure that you get
the steering rack back to where it should go. Once the bolts
are out on both sides of the rack, you can pull it down,
giving you room to remove the big bushing on the right side.
It's likely been put on with some sort of double-sided tape,
so you may need to use a flat head screwdriver to pry it loose
and peel it off.
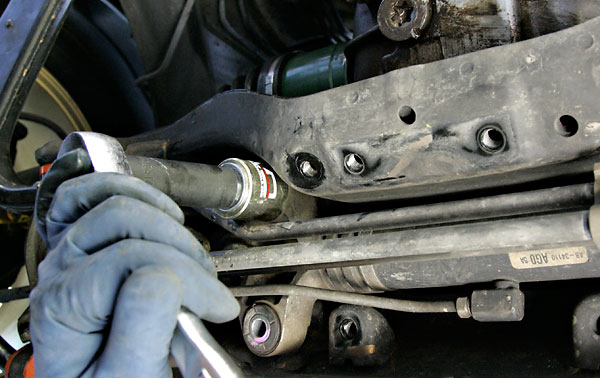
Removal of the standard bushings on
the left side can either be easy or painful, depending on if
you have the car on a lift or jackstands, or you put it on
ramps. If it's on a lift or jackstands, it's fairly easy to
move the steering rack to one side so that you can get the nut
at the top of the AVO tool at the top of the bushing - then
it's just a matter of threading the long bolt into it, and
ratcheting it in till the bushing pops out.
I'm not
going to talk about what it's like getting the nut up there if
you are on ramps. Just don't go there.
Once
out, you are left with two big holes to fill. Um, you know
what I mean.
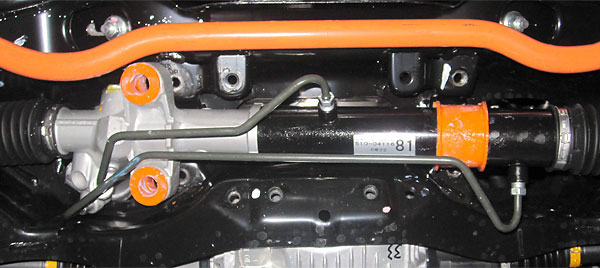
Take
the smaller bushings and remove one of the polyurethane ends
off the metal sleeve. Use some soap on the bushing and squeeze
it up on top of the mounting, and get it slid in. Then lube up
the metal sleeve with the bottom polyurethane bushing (doesn't
matter which one, they are both the same), and slide it into
the bottom of the mounting. Do this for both sides. Then lube
up the big bushing for the right side, and slide it on as
well.
This isn't a picture off my car, but it's a much
cleaner rack that shows how they should look at this point.
Well,
this part is fun as well. Get the rack lined up and get all
those brackets and bolts in. It does help to have a long, big
screwdriver to slide through on one side of the mounts to pull
the rack into place. Then you should be able to get one of the
long bolts in, and then the other side. The right side bracket
is much easier to fit.
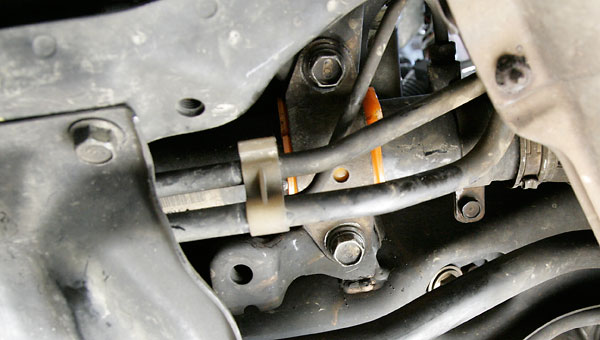
With the bushings and bracket
back on. Pay attention to the orientation of the bracket, it's
hard to remember after everything.

And
the right side bracket and bushing on.
As
I mentioned earlier, because of the general design of the
rack, installing these bushings doesn't put things too out of
whack - the basic alignment of my car is about the same as
before, but I'll still be getting an alignment after all the
rest of the changes as well.
Regards,
Paul
Hansen
http://www.avoturboworld.com/ 


 Linear Mode


